Motorcycle for Animals Treadmill and Speed Guide
Train on your plot, stack multipliers, unlock farther zones, and make the motorcycle actually matter.
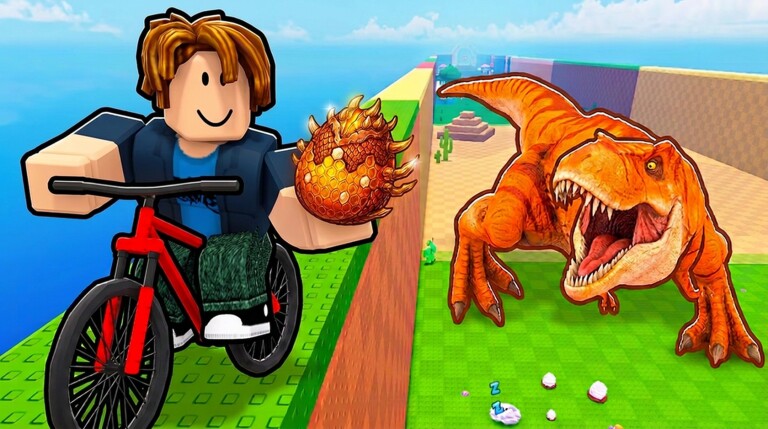
Speed is the travel license in Motorcycle for Animals. The plot treadmill is where you earn that license: repeated training, tier-style upgrades, and click multipliers push your movement power high enough to ride profitable egg zones on a motorcycle. This guide explains how treadmill training fits the loop, how upgrades and multipliers stack with bike auras, and how to think about distant zones when exact speed gates are unpublished.
New accounts should finish the early checklist in Getting Started before obsessing over endgame speed. For the full economy, read How to Play. Once routes open, convert speed into eggs via Eggs and Hatching and into collection goals via Animal Index. Fund training with Codes Cash and prioritize spends with the Tier List.
Why the treadmill comes first
Motorcycle for Animals lets you steal eggs in ride zones, but zones punish under-trained players. Community tools mention zones 1–8; higher numbers generally imply higher speed demand and better opportunities. Exact official zone names and numeric thresholds are not published in the verified facts for this wiki, so you must treat speed as an experimental unlock: train, test the next route, retreat if the run feels unsafe, then train again.
Skipping treadmill time to “just ride” is the most expensive early mistake. A motorcycle without speed investment is a costume. Train until nearby loops feel controlled, then stretch outward.
How treadmill training works in practice
Training happens on your plot. Interact with the treadmill using standard Roblox controls for your device—see Controls for WASD, mobile stick, and Shop UI notes, including the caveat that full official keybind charts are unverified. Each training burst raises speed-related progress. Layer tier upgrades purchased with Cash to multiply the value of those clicks or interactions.
Click multipliers matter because treadmill progress is largely active. Short, focused click sessions often beat distracted tapping while you watch another screen. When you only have ten minutes, a clean multiplier-backed training block can unlock tomorrow’s zone more effectively than a messy half ride.
Suggested early pattern:
- Redeem Release or other active codes in the left Shop for Cash.
- Buy the cheapest meaningful treadmill or multiplier upgrade available.
- Train in focused bursts.
- Test a nearby zone on the motorcycle.
- Return and either hatch eggs or buy the next speed tier.
Motorcycle and aura synergy
The motorcycle is how trained speed expresses itself in the open world. Auras and bike-oriented upgrades smooth travel and farming, but they amplify the treadmill base rather than replacing it. Think in layers:
- Treadmill base speed decides which zones are even candidates.
- Motorcycle upgrades improve how that speed feels on route.
- Auras add situational bonuses during rides or farming.
If Cash is tight, fund the layer that removes your current blocker. Cannot enter the next community-labeled zone band? Buy treadmill tiers. Can enter but clear slowly? Consider motorcycle and aura spends. Returning with eggs but no place to put them? Pause speed shopping and fix capacity using Eggs and Hatching.
Unlocking distant zones without fake numbers
Because precise speed gates are unpublished here, use a field method:
- Record your current comfortable zone band after a successful round trip.
- Train until upgrades noticeably change your feel.
- Attempt the next farther route with a small egg goal.
- If the run is unstable, retreat and train another tier.
- If the run is stable, make that band your new baseline.
Do not trust rumor spreadsheets over your client. After patches, re-test thresholds—Updates is where patch tracking belongs, while this page stays focused on the training philosophy.
Zones exist to feed eggs, Index progress, and Cash. Speed for its own sake only matters when it opens those outcomes. If you can already fill your plot every session, invest in expansion or hatching efficiency before chasing the highest number on a community zone list.
Session goals for speed players
Short session
Codes, one upgrade, one focused treadmill block, logout. No heroic far-zone attempts.
Medium session
Train, test one new route, steal only what you can place, hatch, then buy the upgrade that would have made the test easier.
Long session
Alternate training blocks with steal loops. Push one band farther after two successful baseline loops. End by parking Cash into treadmill tiers unless capacity is the louder problem.
These goals mirror the planning advice in How to Play but keep speed as the protagonist.
Spending order when everything looks tempting
- Treadmill tiers and click multipliers that raise baseline speed.
- Plot capacity when eggs cannot be placed.
- Motorcycle and aura upgrades that improve clear speed on already unlocked routes.
- Speculative spends aimed only at Index bragging rights.
Cross-check with the Tier List when multiple upgrades claim to be “best.” Your bottleneck is personal: a player drowning in unplaced eggs does not need another aura first.
Synergy with Index hunting
Higher speed increases how many distinct routes you can sample, which increases Animal Index coverage over time—including chances at Mythic, Secret, and rare sizes. Exact rarity odds remain unpublished; speed simply buys more honest attempts. After unlocking a new band, schedule Index-focused hatches using Animal Index instead of treating the new zone as pure Cash.
Troubleshooting slow progress
- Zones still blocked: you under-bought treadmill tiers or overestimated a rumor gate—train more and re-test.
- Speed up but Cash down: you are not converting routes into placed and hatched eggs.
- Fingers tired, numbers flat: buy multipliers and tiers so each click means more.
- Bike feels weak: pair motorcycle or aura upgrades with a real treadmill base, not instead of it.
Related reading
Day-one path: Getting Started. Egg conversion: Eggs and Hatching. Collection goals: Animal Index. Loop overview: How to Play. Inputs: Controls. Hub map: Auras, Zones and Map, and the Guides Hub.
Train with intent, ride with a return plan, and let speed open content instead of becoming the only content. That is how treadmill players stay ahead in Motorcycle for Animals.
Frequently Asked Questions
Quick answers about codes, animals, motorcycles, and progression.
Where do I train speed?
Use the treadmill on your plot. Focused training plus Cash upgrades and click multipliers raise the speed you take into motorcycle zone runs.
Do I need a motorcycle before training?
Train first so the motorcycle has power worth using. Bike and aura upgrades amplify treadmill speed; they do not fully replace it.
What are the exact speed requirements for each zone?
They are not officially published in the facts used here. Community tools mention zones 1–8—train, test the next route in-game, and retreat if it feels unsafe.
Should I buy capacity or speed with limited Cash?
Buy speed if you cannot reach useful egg routes. Buy capacity if you already return with eggs and nowhere to place them.
How do click multipliers help?
They increase the value of active treadmill training, so short focused sessions produce more speed progress per click or interaction.
How does speed help the Animal Index?
Higher speed unlocks more routes and more hatch attempts over time, which is how you discover additional Index entries including rarer targets.